Bluetooth
Your odio node works like a commercial Bluetooth speaker via BlueZ. Pair your phone, play music, control everything from the odio UI or Home Assistant.
First pairing
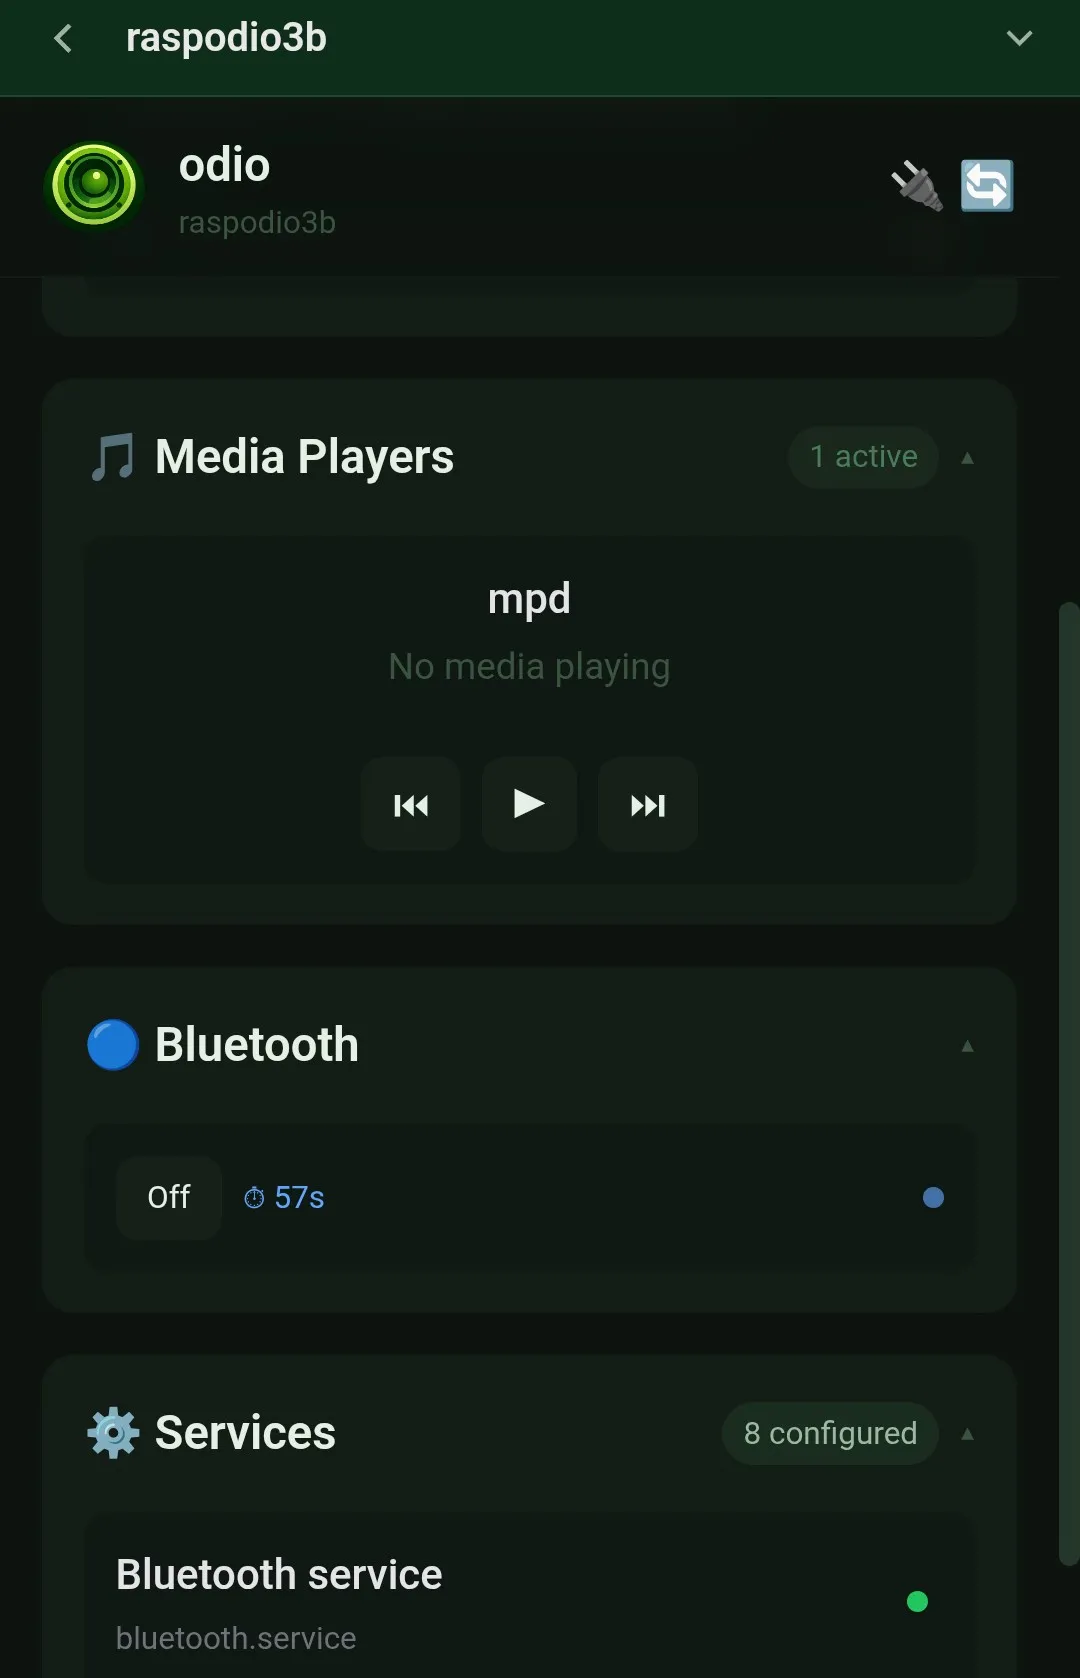
Section titled “First pairing”- Tap Pairing from the embedded UI, the application, or Home Assistant — this powers on Bluetooth automatically if needed and makes the node discoverable until a device connects or the timeout expires (60 seconds by default).
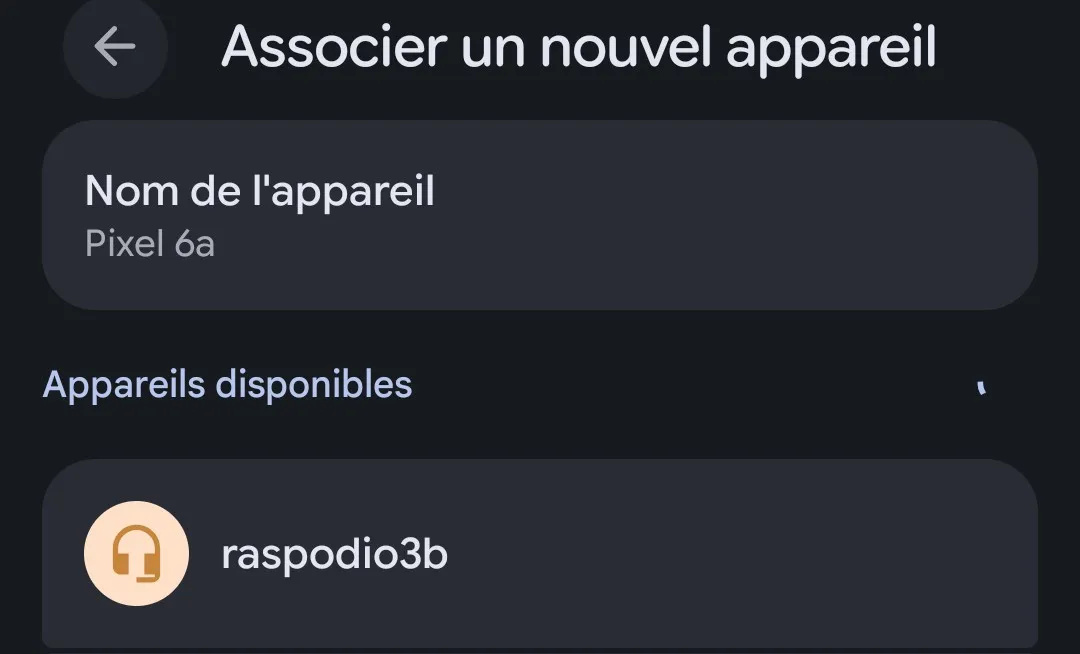
- On your phone, go to Bluetooth settings — your odio node appears with a headphone icon.
- Tap the odio node. Your phone asks to confirm the pairing — accept it.
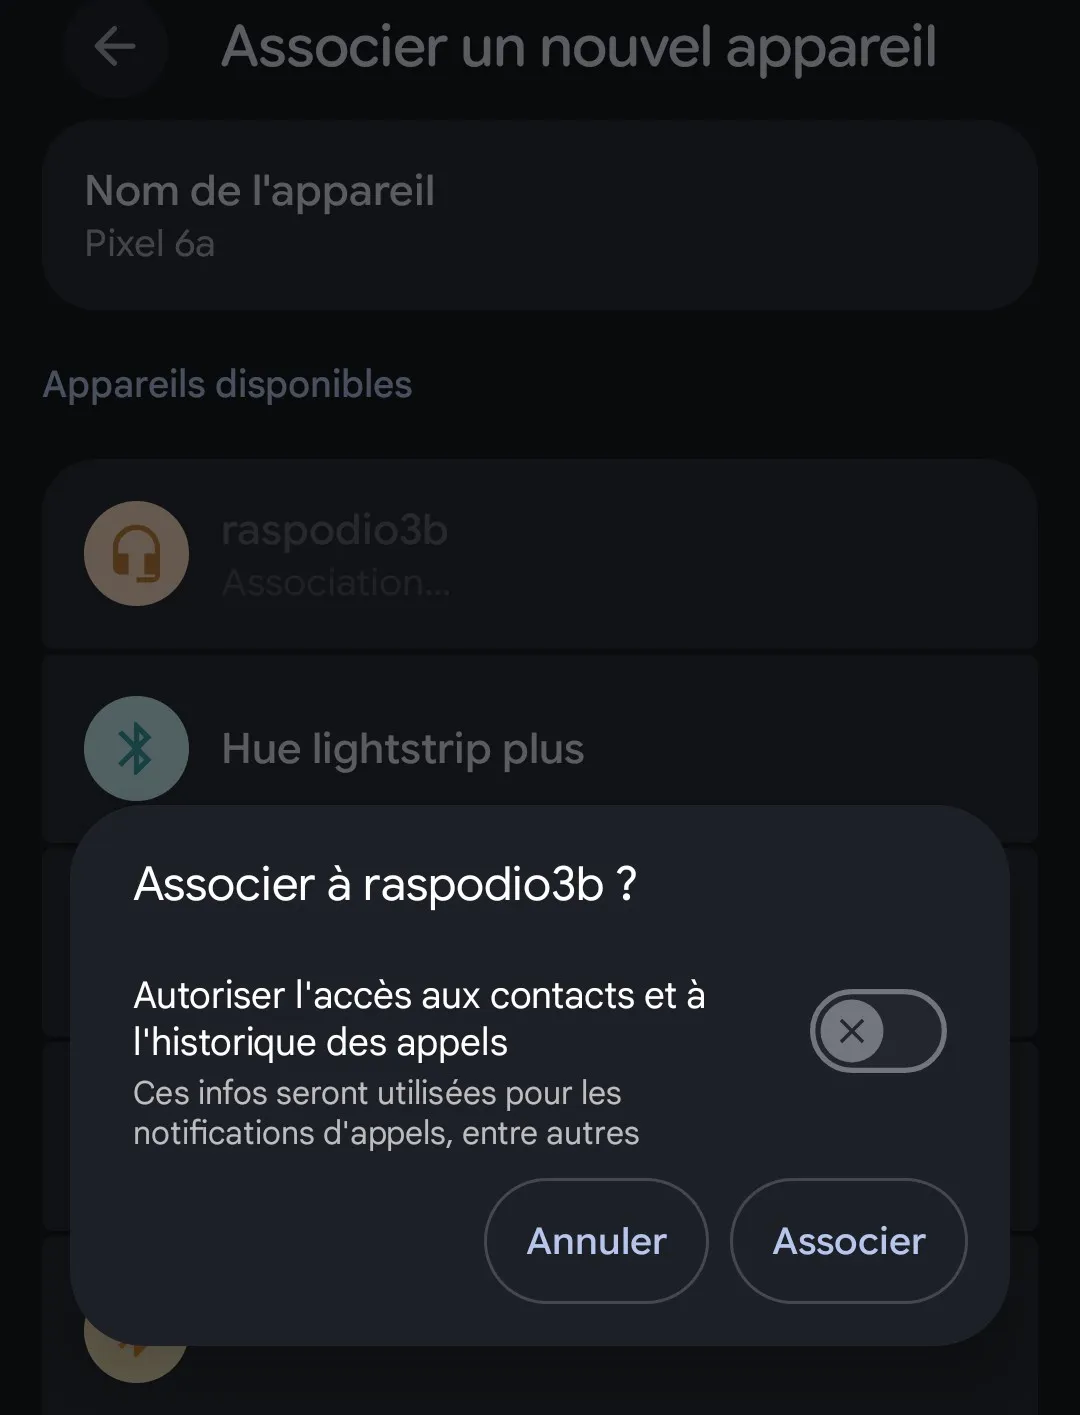
- That’s it. The device is automatically trusted for future connections. No PIN, no confirmation on the Pi.
Reconnecting
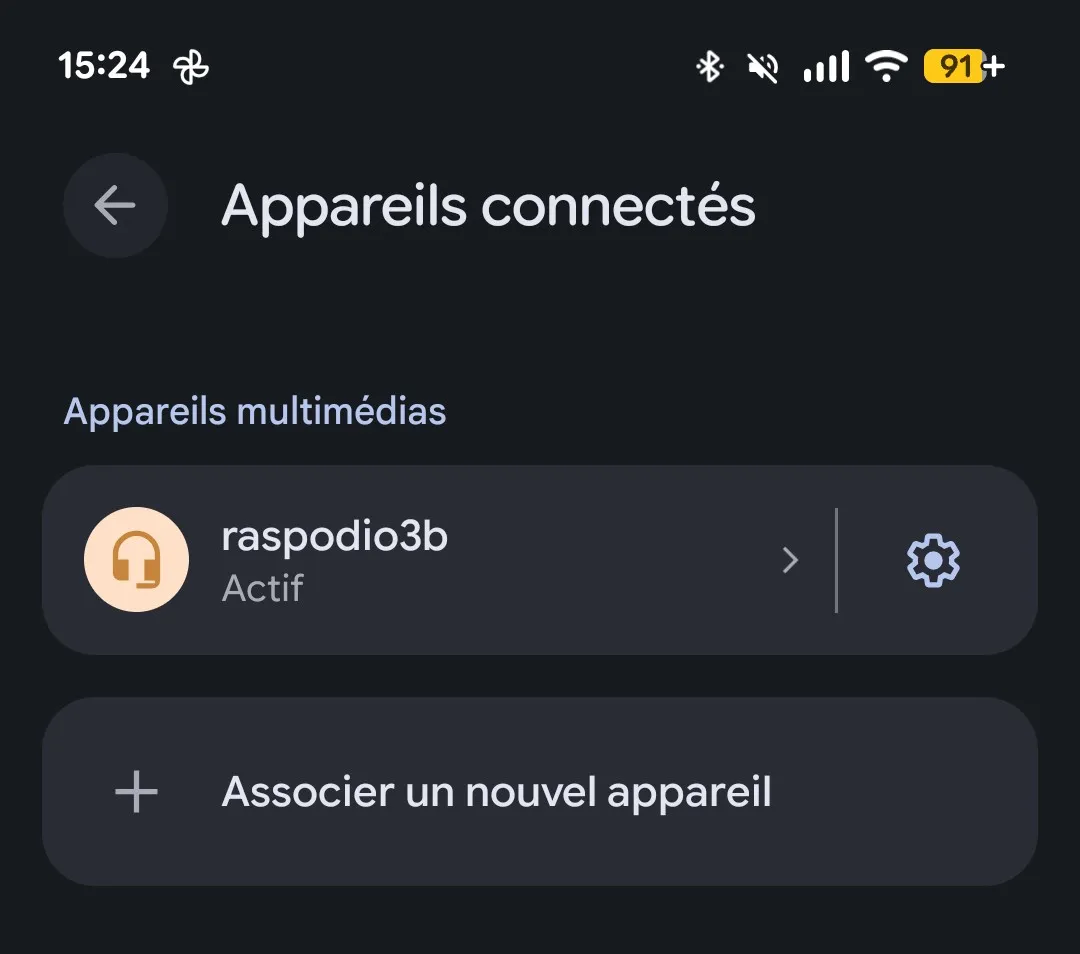
Section titled “Reconnecting”Once paired, your phone remembers the odio node. To reconnect:
- Power on Bluetooth on the odio node.
- Your phone reconnects automatically if odio was the last paired speaker.
If your phone doesn’t reconnect on its own, just select the odio node from your phone’s Bluetooth settings — no need to enter pairing mode again.
Playback controls
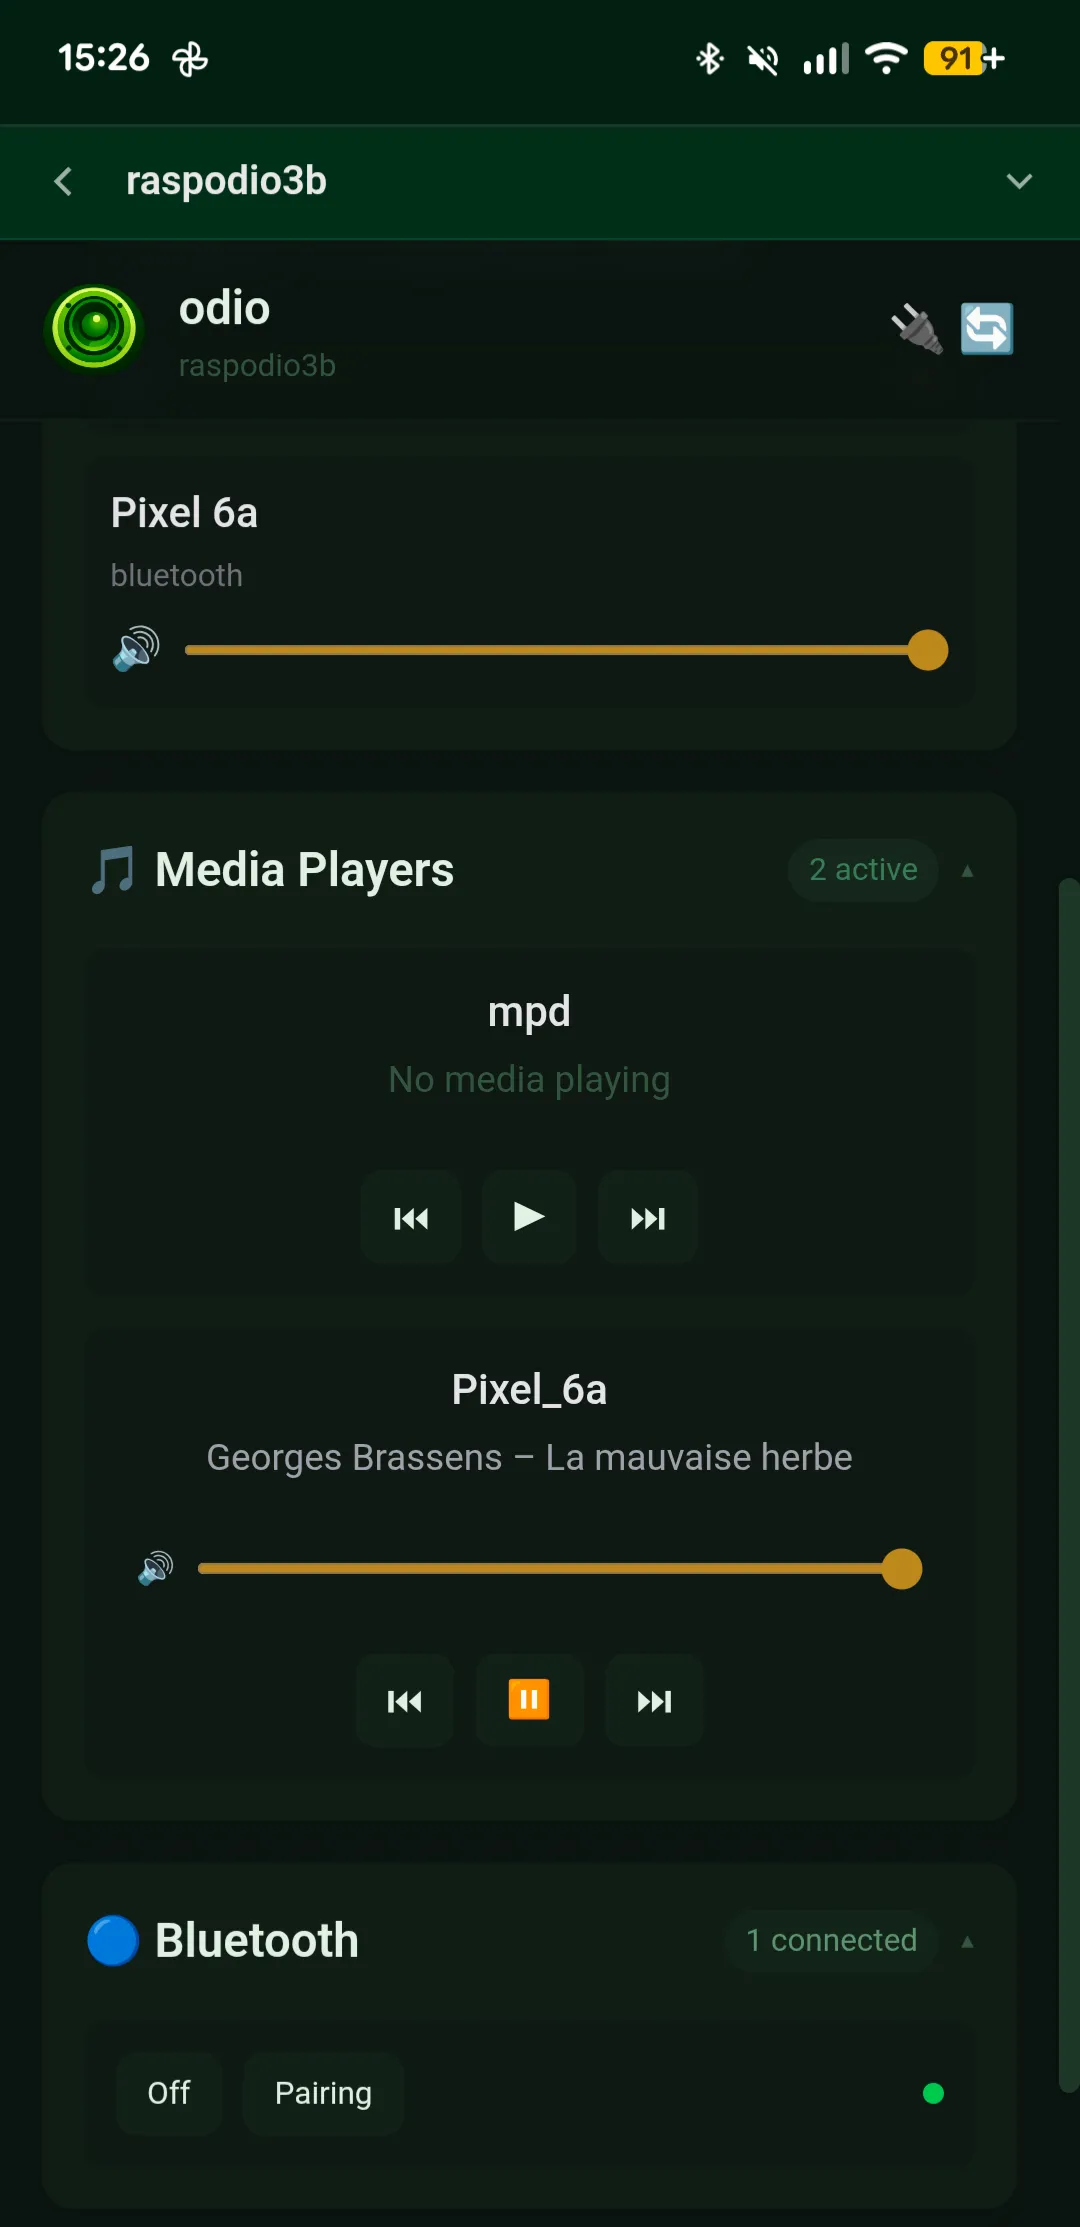
Section titled “Playback controls”Once connected, your phone streams audio to the Pi over A2DP. The connected device appears as a media player in the embedded UI and Home Assistant with:
- Track info (artist, title, album) via AVRCP/MPRIS
- Play / pause / next / previous
- Bidirectional volume sync — change volume on your phone or in the UI
This works with any app on your phone: Spotify, YouTube, Apple Music, podcasts, anything.
Power management
Section titled “Power management”Bluetooth can be powered on and off from the API, the application, or Home Assistant. If no device is connected for a configurable period, the adapter auto-powers down to save energy.
Configuration
Section titled “Configuration”The node’s Bluetooth name and device class are set in /etc/bluetooth/main.conf. The installer configures this automatically — you only need to change it if you want a custom name.