odio application
The odio application is a web app that lets you manage all your odio nodes from one place. Install it from your browser on your phone or desktop.
Installation
Section titled “Installation”- Open pwa.odio.love in your browser.
- Tap “Install” or “Add to Home Screen” when prompted.
- Add your nodes by hostname or IP.
Note: Installation as a standalone app requires a browser that supports PWA (Chrome, Edge, Safari). On Firefox, the app works in the browser but cannot be installed to the home screen.
How it works
Section titled “How it works”The application loads each node’s embedded web UI in an iframe. You get the full interface of each node — playback, audio routing, Bluetooth, services, power — all accessible from a single app.
Why manual configuration?
Section titled “Why manual configuration?”A web app cannot perform mDNS/Zeroconf discovery — browsers don’t have access to UDP multicast. That’s why you need to add your nodes manually by hostname or IP.
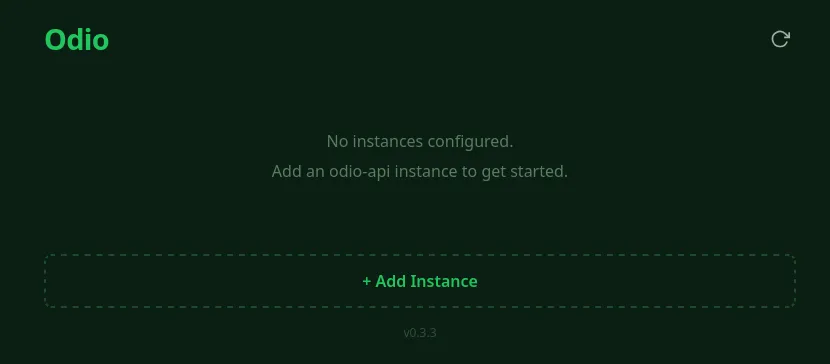
On first launch, click + Add Instance and enter the address of your odio node:
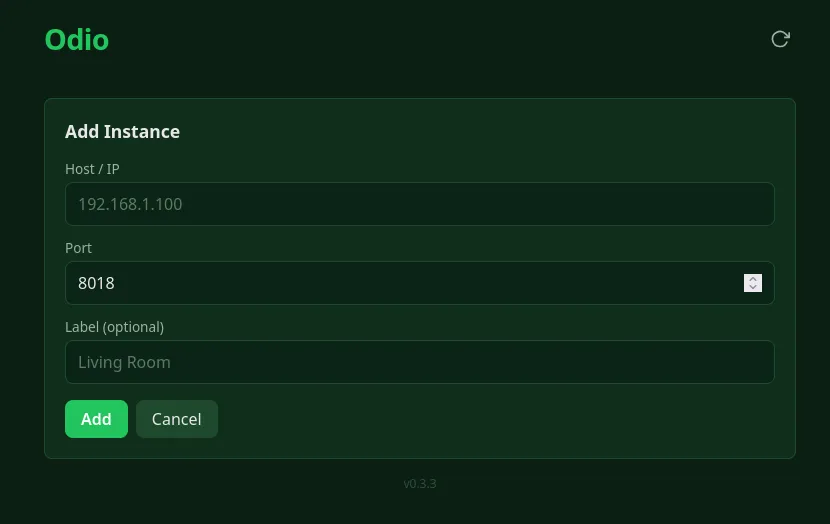
Enter the host/IP, port (default 8018), and an optional label for your node:
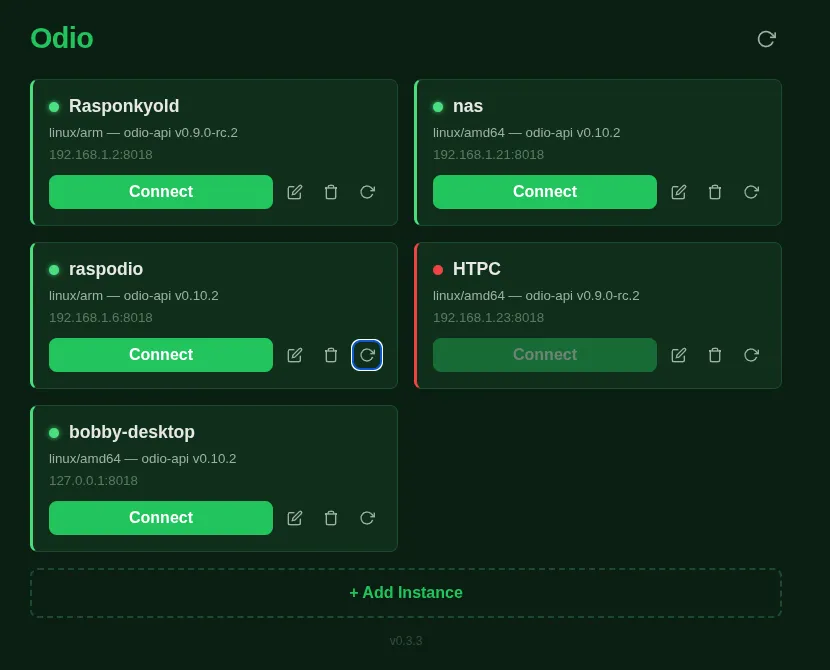
Multiple nodes
Section titled “Multiple nodes”Add as many nodes as you have. Each card shows the node name, architecture, odio-api version, and connection status. Click Connect to open the node’s interface.