
How to integrate odio with Home Assistant
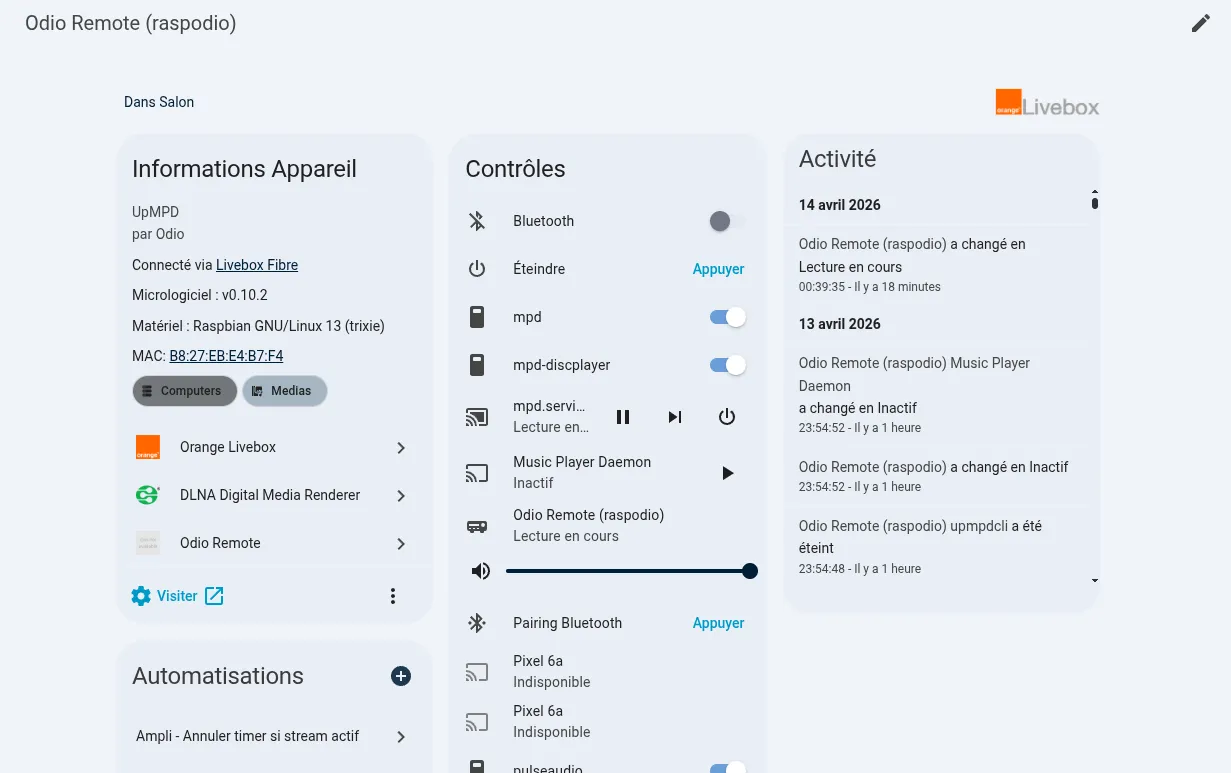
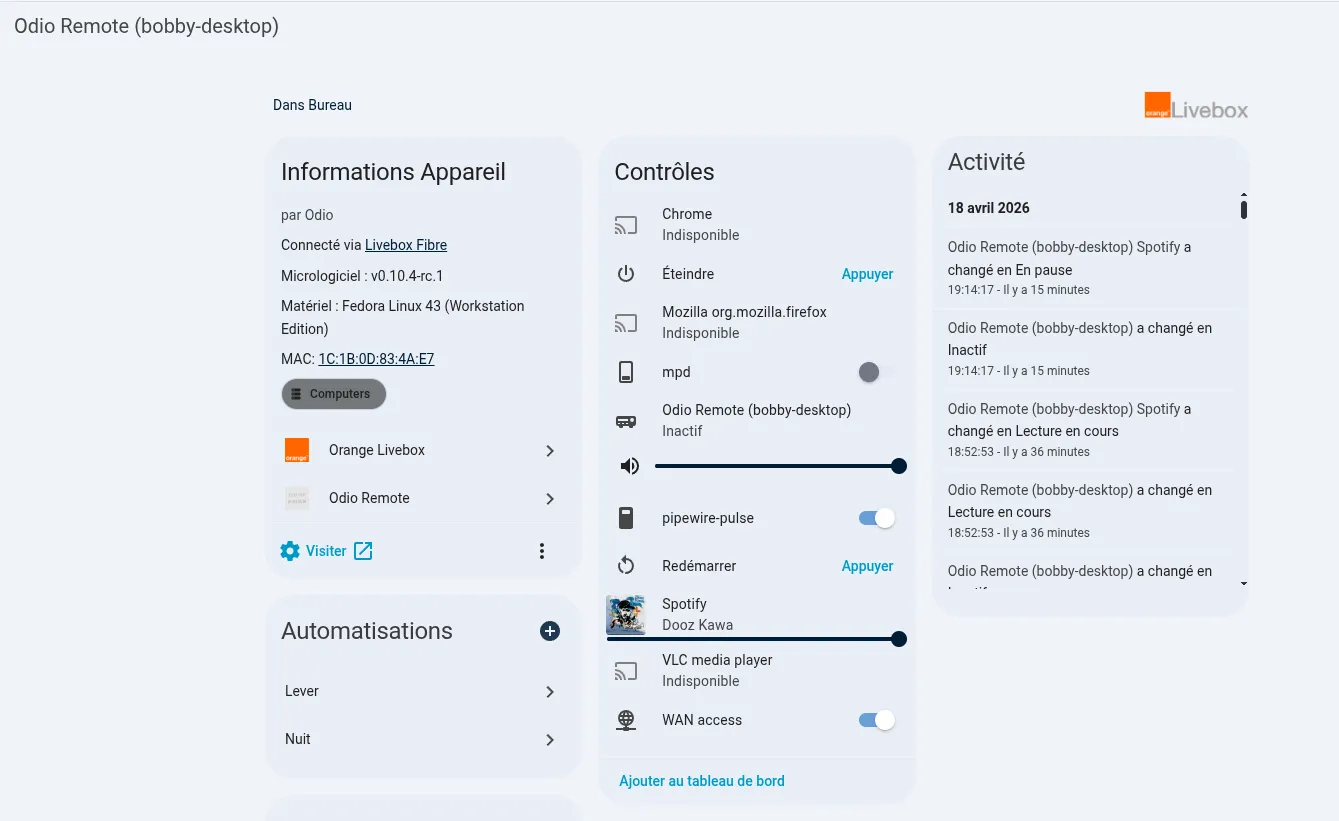
odio-ha is a native Home Assistant integration, available in the Home Assistant Marketplace. Each odio node appears as a single HA device with its stack exposed as entities.
A node can be a full odio streamer on a Raspberry Pi, or just go-odio-api running on any Linux machine with a D-Bus user session (desktop, NAS, laptop). Same integration either way, HA exposes whichever capabilities the node actually has.
Supported devices
Section titled “Supported devices”Any Linux machine running go-odio-api v0.16.1 or later with a D-Bus user session. See platform support for the tested architectures and distributions, and compatible hardware for full odio streamers.
The integration requires Home Assistant 2026.3 or later.
What a node exposes depends on the backends enabled in its go-odio-api configuration: audio, systemd services, MPRIS players, Bluetooth, power, and upgrade. Each backend is optional, and HA only creates the entities for the backends the node reports.
Installation
Section titled “Installation”-
Go to Settings → Marketplace in Home Assistant.
-
Search for odio or use the direct link:

-
Select Install, then restart Home Assistant if asked.
Before Home Assistant 2026.11, the Marketplace was HACS, a separate integration to install first.
To install without the Marketplace, download the latest release, copy custom_components/odio_remote into your Home Assistant config/custom_components/ folder, and restart Home Assistant.
Configuration
Section titled “Configuration”
Your odio nodes are auto-discovered via Zeroconf and show up under Settings → Devices & services with their hostname. Confirm the discovered node to add it.
To add a node manually, go to Settings → Devices & services → Add integration, search for Odio Remote, and enter the API URL (http://<ip>:8018 with the default port).
The setup then asks for:
- The SSE keepalive interval, 30 seconds by default.
- Optional service mappings to existing Home Assistant media players.
Both can be changed later. See options and mapping.
Use cases
Section titled “Use cases”- Phone and tablet: pair over Bluetooth, open pairing mode, and control playback from the Home Assistant companion app.
- HTPC: start and stop Kodi or a browser kiosk from Home Assistant.
- Desktop: control the volume of every desktop streaming to the node.
- NAS: turn the NAS itself into an odio node.
- Power and upgrade: shut down a node or apply an odio upgrade from Home Assistant.
Removing the integration
Section titled “Removing the integration”- Go to Settings → Devices & services, open Odio Remote, and select Delete from the node’s menu.
- If you installed it from the Marketplace, open Odio Remote in Settings → Marketplace and select Uninstall from the menu.
Removing the integration does not change anything on the node: go-odio-api keeps running.